Bandaging
Explore our concise 8-step guide for effective lymphedema bandaging. Starting at the wrist and progressing to the upper arm, our easy-to-follow instructions ensure a comfortable, secure wrap to aid in lymphedema management. Each step is designed for simplicity and efficiency, suitable for both self-application and caregiver assistance.
Process
How to Wrap Video
Supplies Used
-
Mollelast Fingers
-
Celona Artiflex or SIGVARIS Underwrap
-
6cm, 8cm, 10cm (Rosidak K, Compralin, Sigvaris)
Uneven Compression
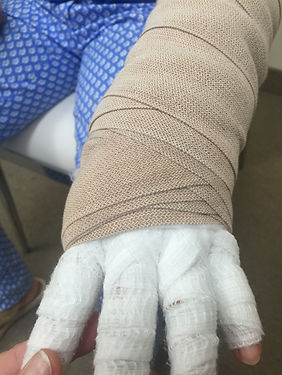
Notice the striking difference in pressure and uniformity between uneven and even bandaging. This distinction is critical to understanding why proper wrapping is essential. Even bandaging delivers consistent, controlled pressure across the limb, effectively preventing fluid from pooling. This uniformity not only optimizes therapeutic outcomes but also highlights the professional standard of care that distinguishes effective treatment from ineffective application.

Even Compression
Step 1
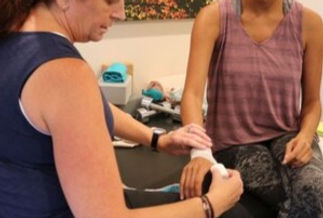
Initiate finger wrap at the pinky side of the wrist moving up to the nail bed of the thumb.
Step 2
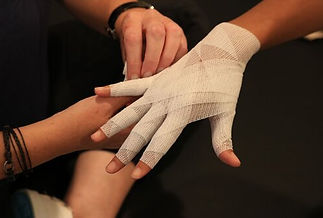
Continue wrapping the fingers nail-bed to knuckles bringing the bandage up on the thumb side of the wrist and down on the pinky side with the roll on top.
Step 3
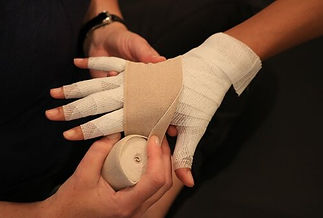
Once finger wrapping is complete, begin wrapping the hand with 4 or 6 cm (depending on hand size). Start with the roll on top, end of bandage on pinky side of hand and if needed to prevent rubbing, create a small fold in bandage as it meets the thumb curve.
Step 4
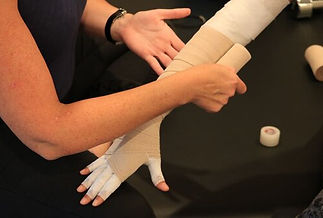
As you go around the hand, bring bandage down on the thumb side of wrist, up on the pinky side and make 3-5 x’s crossing hand to wrist each time around.
Step 5
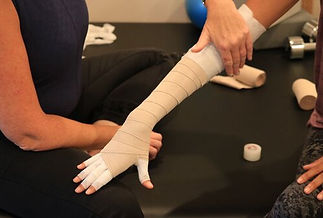
Gradually work your way up the arm keeping the bandage close to the skin to avoid pulling, and overlap 50% each time around. (the 1st bandage generally does not go past the elbow crease)
Step 6
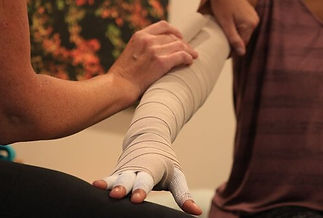
Each bandage thereafter, begin at the wrist with the roll on top and gradually work your way up the arm using a 50% overlap and keeping the roll close to the skin to prevent pulling of the bandage.
_edited.png)